Granny Square Day 2: Watermelon Square

IMG_1016
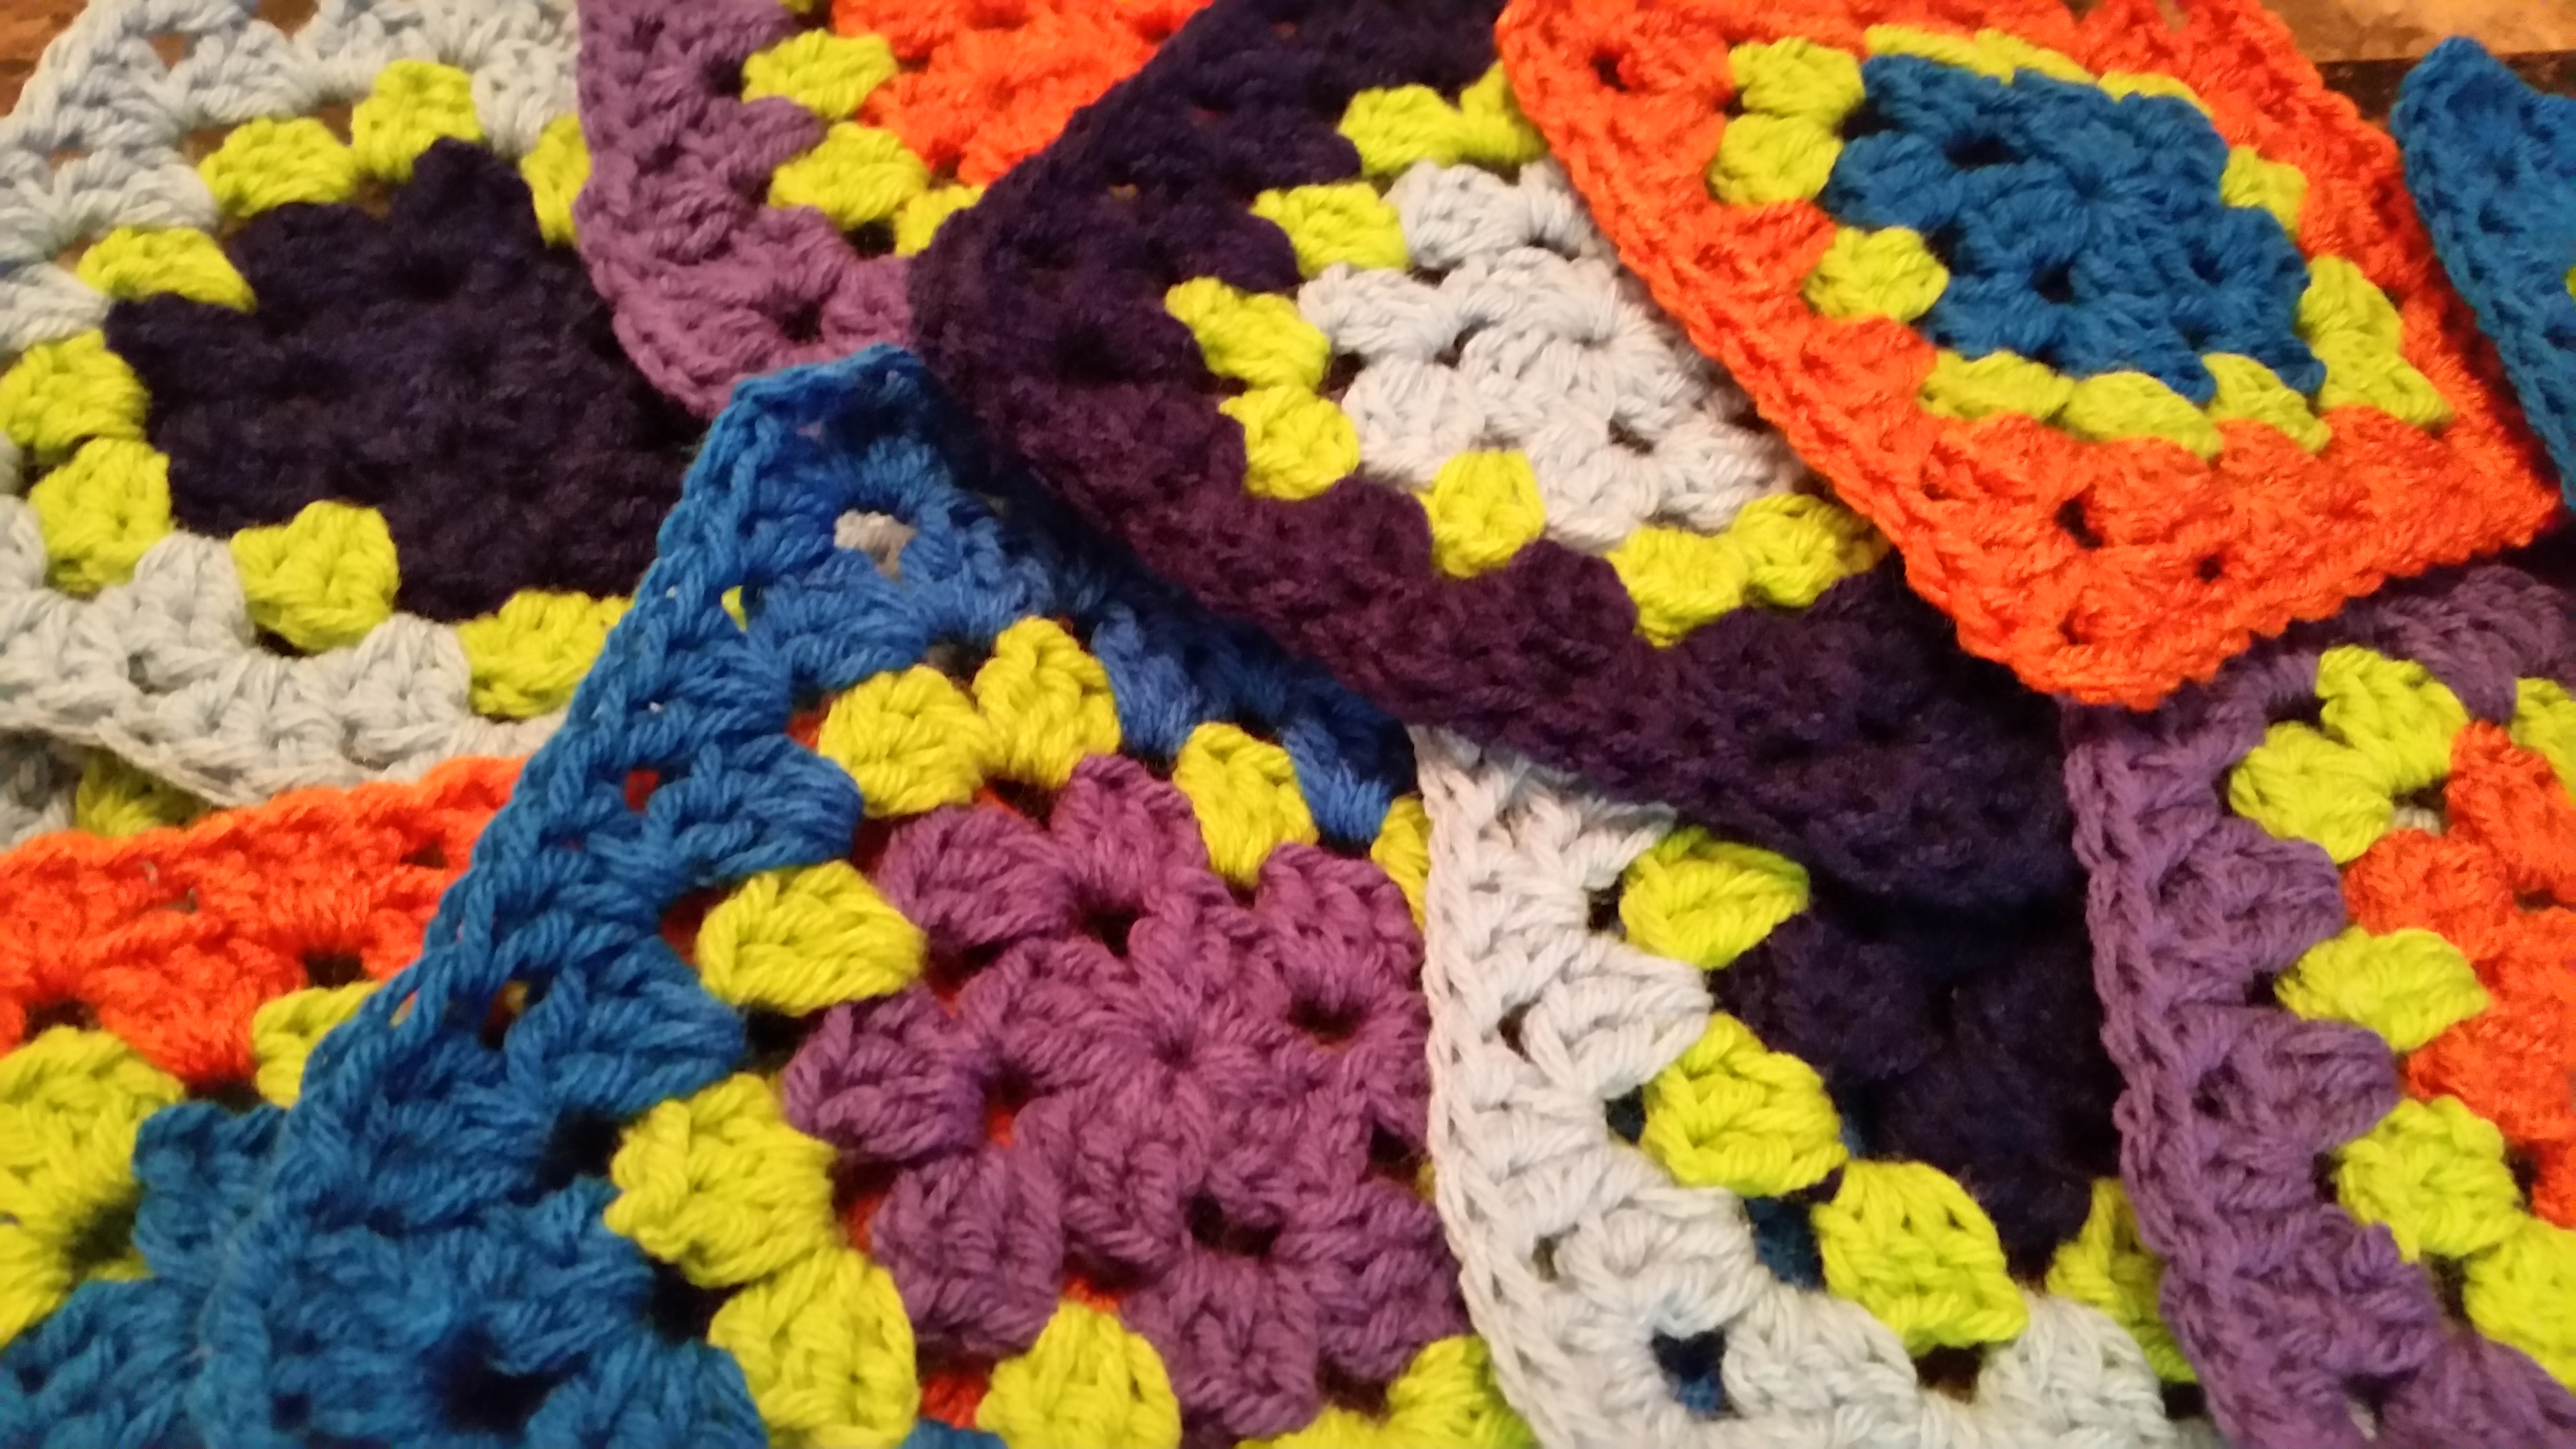
Yay! Second square for our 13 Days of Granny Squares! This one was very fun to do. Especially as I got to the white and green.

I used Lily’s Sugar n’ Cream cotton yarn for this and a 4.5 mm hook. But you can use whatever yarn and whatever hook size you see fit. If you’re not sure, I would recommend going with the suggested hook size on the wrapper that comes around your skein of yarn.

Now, keep in mind, this square is going to be larger than the previous squares. Lastly, I can’t recommend this enough – if you can, block your squares. 

IMG_1027

(If you need help with any of the abbreviations used, refer to my Abbreviations in Crochet page! A new tab will open for your convenience.)

Here goes!


Watermelon Square


Written using US terms.IMG_1029

Gauge: doesn’t matter for this.

Hook Size: Any

Need 4 yarns:

  • Yarn A – Red
  • Yarn B – Black
  • Yarn C – White
  • Yarn D – Green

[Ch 3= 1 dc]

Rnd 1: Using Yarn A, make a magic ring, ch 1, sc 8, sl st to join.

Rnd 2: Switch to Yarn B; ch 1, sc in same sp, (ch 2, sc in next st); rep 7 times to end, sl st to join.

Rnd 3: Switch to Yarn A, ch 3, in ch-2 sp, 2 dc in same sp, (ch 1, 3dc, ch1); rep to end of rnd, sl st to join.

Rnd 4: Sl st to ch-1 sp, ch 3, 2 dc in same sp, (ch 1, skip 1 st, 2 dc in next st, ch 1) to end of rnd, sl st to join.

Rnd 5: Switch to Yarn B, in ch-1 sp, ch 3, ch 1, sc in same sp, (ch2, sc in next ch-1 sp) rep 15 times, ch 2, join with sl st to first sc made.

Rnd 6: Switch to Yarn A, in ch-2 sp, ch 3, 2 dc in same sp, (ch 1, 3dc in next ch-2 sp, ch 1) rep to end of rnd, sl st to join.

Rnd 7: Switch to Yarn C, ch 1 in ch-1 sp, sc, (ch 3, sc, ch 3) rep to end of rnd, sl st to end of rnd to join.

Rnd 8: In ch-3 sp, ch 1, 4 sc in same sp, *(hdc, 3 dc) in next ch-3 sp, (tr, ch2, tr) in next sc, (3dc, hdc) in next ch-3 sp, 4 sc in next ch-3 sp ** 4 sc in next ch-3 sp, rep from * twice more then from * to ** once more, join with sl st to join rnd.

Rnd 9: Switch to Yarn D, in ch-2 sp, ch 1 *(sc, hdc, sc in corner ch-2 sp), sc in each st to corner ch-2 sp; rep from * to end of rnd, sl st to join. FO and weave in ends.

For this particular square, you may want to block it; blocking the square will straighten it out. 


If you have any questions, please let me know!

Granny Square Day 1: Treble Granny

The treble granny square is very similar to the traditional granny square (Scroll to the bottom of the link for instructions), only the first 3 rounds are worked in tr instead of dc. I find its better to use different colored yarns to really make the stitches “pop!” but ultimately, it’s up to you.

IMG_0982

Just a word of caution: If you plan on using different colored yarns- when I switched the yarn, I basically started at each corner space. If you prefer to do color changes right where the round is joined, it’s a good idea to sl st until you get to the corner sp then ch 3.


Treble Granny Square


Gauge: doesn’t matter for this.IMG_1003

Hook Size: Any

Need 3 yarns:

  • Yarn A
  • Yarn B
  • Yarn C

[Ch 4= 1 tr]

Ch 4 and join to make ring

Rnd 1: With color
A, ch 4, 2 tr, ch 3, 3 dc, *ch 3, 3 tr, ch 3; rep from * two more times.

Rnd 2: Switch to color B, ch 4 in
ch-3 sp, 2 tr, ch 3, 3 tr, in same sp, *ch 1, (3tr, ch 3, 3 tr), ch 1; rep from * two more times, sl t to top of ch 4 to join round.

Rnd 3: Switch to color C, ch 4 into ch-3 sp, 2 tr, ch 3, 3 tr, *ch 1, 3tr, ch 1, 3 tr, ch 1, (3 tr, ch 3, 3tr), ch 1; rep from  * to end of rnd, join with sl st to top of ch4.

Rnd 4: Switch to Color B, ch 1 in ch-3 sp, *(2sc, hdc, 2sc), sc in each st to corner sp; rep from * to end to end of rnd, sl st to first sc to join.

Rnd 5: Switch to Color C, rep rnd 4. FO and weave in ends.

For this particular square, you may want to block it; blocking the square will straighten it out. 


13 Days of Exciting Granny Squares!

The granny square is definitely one of my favorite things to make. With it you can create a variety of different items! However, granny squares can get a little boring. So I’m kicking off “13 Days of Exciting Granny Squares!” Each granny square presented will be a variation of the “classic” granny square, so stay tuned!

image

For those unfamiliar with a traditional granny square, below is a pattern for how I make them.


Traditional Granny Square

20160118_215705

Gauge: Doesn’t matter for this

Hook Size: Any/ whatever your yarn calls for

(Written with U.S. terms)

[Ch 3 worked in rounds = 1 dc ]

Ch 4 and join with sl st to form a ring

Rnd 1: Ch 3, 2dc in ring, ch2, * 3 dc into ring, ch 2 * rep from * twice, join with sl st into top of ch 3. (12 sts)

Rnd 2: Sl st to ch 2 sp, ch3, 2d in same sp,  ch 2, 3dc, *ch 1, (3dc, ch2, 3dc) into next sp; rep from * twice, ch 1, sl st to top of ch 3 to join.

Rnd 3: Sl st to ch2 sp, ch 3, 2 dc in same sp, ch 2, 3dc in same sp, *ch 1, 3 dc in next sp, ch 1, ( 3 dc in ch-2 space, ch 2, 3 dc), ch 1; rep from * three more times, 3 dc in next sp, ch 1, sl st to top of ch 3 to join.

Rnd 4: Sl st to ch 2 sp, ch3 2 dc in same sp, ch 2, 3 dc in same sp, *ch 1, 3 dc in next sp, ch 1, 3dc in next sp, ch 1, (3dc, ch 2, 3 dc), ch 1; rep from * thre more times, sl st to top of ch 3 to join rnd.

Rnd 5: sl st to ch-3 sp, ch 3, 2 dc in same sp, ch 2, 3 dc in same sp, ch 1, 3 dc in next sp, * ch 1, 3dc in next sp, ch 1, 3 dc in next sp, ch 1, (3dc, ch 2, 3 dc), ch 1; rep from * three more times, l st to top of h 3 to join. FO and weave in ends.

Joining Yarn: The Russian Join

“Yari, how do you join your yarn?” I’ve been asked this question time after time! Honestly, it’s one of my favorite questions because joining yarn can not only be difficult but weaving in those ends from the joins can also be tedious and can easily be the difference between work that looks sloppy and works that looks clean and well done.

My favorite method of joining yarn is the Russian Knot or the Russian Join. I’ve seen both terms used. For the purpose of this post we’re going with Russian Join (RJ). Though it can look a little confusing at first, this method is easy to do! It also means that you don’t have that ugly bulge from joining your yarn with an actual knot. This also means that your yarn won’t slip and come loose. Bonus!? NO WEAVING IN ENDS, YAY!

To do this, you need a large, blunt needle for yarn (whatever you use for weaving in those pesky ends), yarn, and a pair of scissors.

How to do a Russian Join:

  1. Thread your  yarn needle with your current color.IMG_0927
  2. Weave your needle through the yarn. Pull the needle and tail through the yarn and remove the needle. Make sure that there is a loop at the top.IMG_0945
  3. Thread the needle with your new yarn. Pass the needle and yarn through the loop in your old yarn.IMG_0935
  4. Weave the needle through the new yarn just as you did with the old yarn. Pull the needle and tail through the yarn and remove the needle.IMG_0937
  5. Pull both yarn tails taut, closing the loops where the ends of the yarn meet.IMG_0939
  6. Cut the tails of the yarn, then continue working!IMG_0941


Spruce Up Those Fleece Blankets!

Don’t have time to make an afghan, but really, really want to use your crochet skills? 


A great alternative is to purchase either fleece fabric or a fleece blanket and add a crochet trim. It’s surprisingly easy to do and you need very, very few supplies. In fact you can usually do this with less than a skein of yarn (if you’re only using one color). Before I realized that folks really did this, I knew that my Mama Abuela used to make these really pretty crochet trim borders around burp cloths or bibs. I believe she used lace crochet thread.She gifted them for new babies and I have to say they were absolutely stunning! I had the pleasure of watching her make these when I was a little girl. Years, later this still fascinates me! Unfortunately, I don’t have the patience to deal with thread. But, I do love yarn very much.

These are really simple to make! Just click below to see how:

Continue reading

Dishcloths! Dishcloths! Dishcloths!

Do away with nasty, filthy sponges and make a dishcloth! 

I think these are one of the most practical household items you can create. They are great, long-lasting, and durable in the fight against dirt and grime. For the most part, I think that dishcloths are relatively easy and quick to work up. I like to make them when I want to keep my hands busy, but don’t necessarily want to devote a ton of time to a project. There are also a ton of FREE patterns for all sorts of dishcloths out there.

Personally, I hate using sponges to clean up my kitchen counters and dishes. I always have this mental image of germs just collecting in them and spreading. What I really like about using the crochet dish cloths is that you can throw it in the washer and dryer and can reuse them instead of disposing of a gross sponge. Plus! I can make a ridiculous amount of them in all sorts of different shapes and styles. I like to use Lily’s Sugar N Cream yarn to make these because they are 100% cotton. Also, I am all about bright, happy colors and this brand has TONS of colorful skeins! They even have scented ones which are fun to play with also.

So, in honor of dishcloths AND the coming 4th of July holiday, I present to you a few FREE patterns!

Stripey Star Dishcloth

Stars and Stripes Crochet Dishcloth

American Flag Dishcloth

 * Little Star Dishcloth

American Flag Crochet Dishcloth

Enjoy!!!

Crazy About Baby!

FINALLY! It’s complete! There is nothing like the feeling of seeing a project fully finished, is there?! Toward the end I was working like mad woman to get it done! Well! Here is my completed blanket for my little boy! I’m very excited as this is OFFICIALLY his first baby blanket.

imageBelow are the various pictures of the pieces as I worked. All the yarn used was Caron Simply Soft. Initially, I was going to sew in the letters to spell his name as well as a crochet car applique which would have all gone on the lower right hand corner. BUUUUT!!! All my color choices for the applique were terribly wrong and it all just blends in with the blanket colors. Either way, I like the simplicity of it now, and looking back, I think adding more stuff to it will be too much!

wpid-20150302_233338.jpgwpid-20150311_133311.jpgwpid-20150318_133908.jpgimageimage


And lastly, behold my awesome kitty who thinks this blankie belongs to her! My fur baby has quite a bit of adjusting ahead of her in anticipation of the new baby! She loves keeping me company while I crochet (aka making it hard to do since she wants to lay on what I’m working on or attack the yarn!)

Crochet-To-Go Kits?!

Every crocheter (hopefully this is a word!), no matter the level, should at some point have a basic “kit” to work with. Everyone has a different idea about what they would like in theirs, but overall, I would say we all have a basic idea of what we want in it.

So, what exactly is a kit? Personally, I define it as a bag/box/storage item with the basics needed to work on a project, where “must-haves” are located.

If I owned a store and I could create my “Crochet-For-Beginners” Kit or my “Let’s Crochet!” Kit, I would have the following items included:

  • Bag for storage
  • Assorted sizes of hooks
  • Scissors
  • One or two skeins of yarn.
  • Small Notepad
  • Stitch markers
  •  A Pattern

If you could create a kit, would it be similar to mine? If not, what would you have included?

Chunky Circle Scarf

Hi Everyone!

I have been dying to make a crochet infinity scarf for ages now! Well, I found this handy-dandy pattern for the Chucky Circle Scarf by People’s Web blog. The pattern is really easy to work up and I was able to get this made in 2 days. I have so much Caron Simply Soft yarn at home, so this was super convenient to make (no runs to the store in this crazy cold… BRRRR!).

And yes, I am RAVING about this pattern. I love how quickly it worked up, and I also love how simple it was to create! If you know how to single crochet and double crochet, you pretty much have this pattern down! Also, when complete, it is very warm! I sit in front of the front door of my job and I always catch that nasty cold breeze. I wore the scarf today and it kept me nice and toasty! LOVE!

wpid-20150120_010359.jpg

The texture this creates is absolutely beautiful! When complete, it makes these nifty little starbursts, and the scarf ends up with a nice little ripple.

**However, the only word of caution for this pattern is to watch the gauge. The pattern does warn you that she crochets loosely. I didn’t realize how loosely until I began working on mine. I’m not sure if the problem was that I crochet too tightly! Anyways, when I realized the length was too short, I had to frog it halfway through. Whoops! I ended up using a hook that was a size bigger than recommended in the pattern, 10.5 mm hook. Even then, I had to extend the amount of ch st required for the foundation to make mine long enough.

Regardless of having to start over, I am happy that I worked on this and got it finished so quickly! Try it out!

Decoding Crochet Patterns: Let’s Read A Pattern!

At some point or another, we’ve all come across a pattern for the first time and been like…. “What in the world am I supposed to do with that?!” Well, don’t get discouraged. Though a pattern may look intimidating for the first time, they are not all that difficult to decode.

Patterns are written in a form of shorthand, using abbreviations for various stitches. It would be a good idea to become familiar with abbreviations used for crocheting. Click the link to view my list of abbreviations! Please keep in mind that US patterns and UK patterns have different forms of shorthand. I will be using the US version. What “language” the pattern is written in is important to pay attention to! A double crochet in the US is called a treble crochet in the UK – so this may cause some confusion if you’re familiar with US terms and follow a UK pattern.

Personally, I believe that understanding the abbreviations is the key to reading a pattern. Once you know what they mean, reading a pattern will be a breeze!

So, let’s pick up those lovely hooks, get your yarn ready, and I’ll “translate” a pattern for you!

** Please be aware, I’ve translated the pattern how I read it to myself while crocheting. We will be making a pretty simple square — It’s the first thing I was taught to crochet, so I figure it would be a great way to get beginners started on their pattern reading!

Continue reading