13 Days of Exciting Granny Squares!

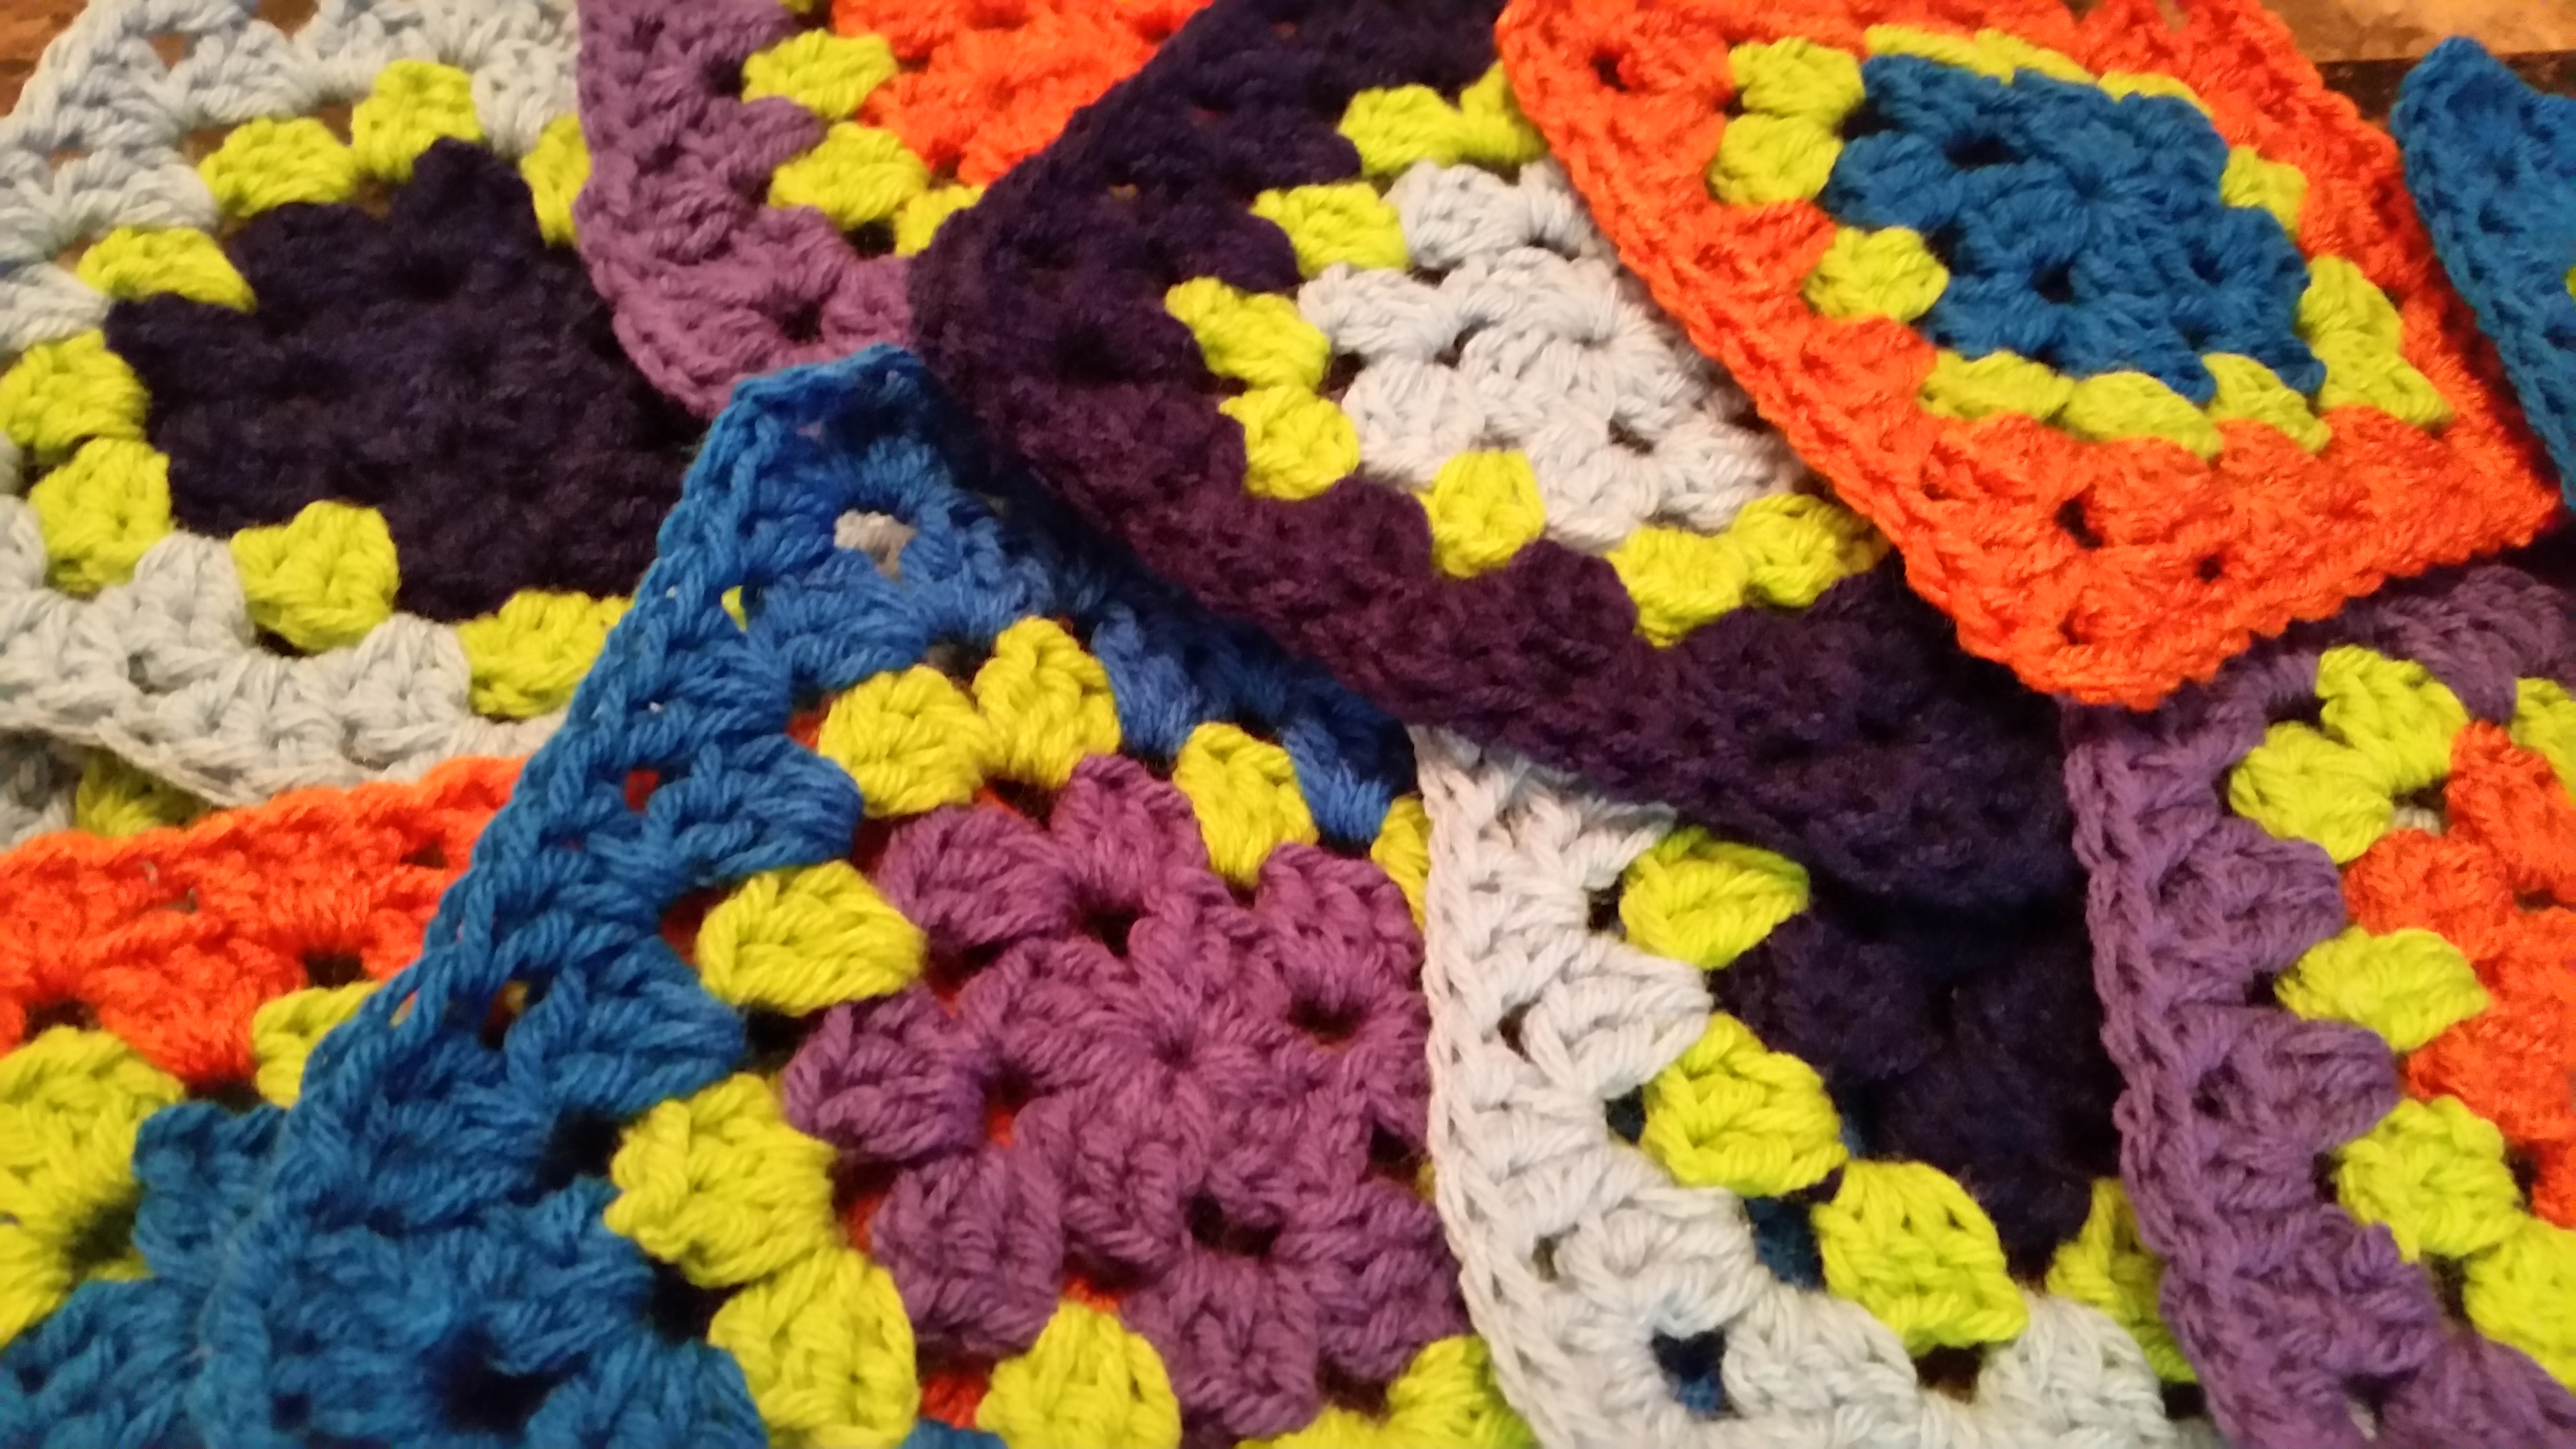
The granny square is definitely one of my favorite things to make. With it you can create a variety of different items! However, granny squares can get a little boring. So I’m kicking off “13 Days of Exciting Granny Squares!” Each granny square presented will be a variation of the “classic” granny square, so stay tuned!

image

For those unfamiliar with a traditional granny square, below is a pattern for how I make them.


Traditional Granny Square

20160118_215705

Gauge: Doesn’t matter for this

Hook Size: Any/ whatever your yarn calls for

(Written with U.S. terms)

[Ch 3 worked in rounds = 1 dc ]

Ch 4 and join with sl st to form a ring

Rnd 1: Ch 3, 2dc in ring, ch2, * 3 dc into ring, ch 2 * rep from * twice, join with sl st into top of ch 3. (12 sts)

Rnd 2: Sl st to ch 2 sp, ch3, 2d in same sp,  ch 2, 3dc, *ch 1, (3dc, ch2, 3dc) into next sp; rep from * twice, ch 1, sl st to top of ch 3 to join.

Rnd 3: Sl st to ch2 sp, ch 3, 2 dc in same sp, ch 2, 3dc in same sp, *ch 1, 3 dc in next sp, ch 1, ( 3 dc in ch-2 space, ch 2, 3 dc), ch 1; rep from * three more times, 3 dc in next sp, ch 1, sl st to top of ch 3 to join.

Rnd 4: Sl st to ch 2 sp, ch3 2 dc in same sp, ch 2, 3 dc in same sp, *ch 1, 3 dc in next sp, ch 1, 3dc in next sp, ch 1, (3dc, ch 2, 3 dc), ch 1; rep from * thre more times, sl st to top of ch 3 to join rnd.

Rnd 5: sl st to ch-3 sp, ch 3, 2 dc in same sp, ch 2, 3 dc in same sp, ch 1, 3 dc in next sp, * ch 1, 3dc in next sp, ch 1, 3 dc in next sp, ch 1, (3dc, ch 2, 3 dc), ch 1; rep from * three more times, l st to top of h 3 to join. FO and weave in ends.

Joining Yarn: The Russian Join

“Yari, how do you join your yarn?” I’ve been asked this question time after time! Honestly, it’s one of my favorite questions because joining yarn can not only be difficult but weaving in those ends from the joins can also be tedious and can easily be the difference between work that looks sloppy and works that looks clean and well done.

My favorite method of joining yarn is the Russian Knot or the Russian Join. I’ve seen both terms used. For the purpose of this post we’re going with Russian Join (RJ). Though it can look a little confusing at first, this method is easy to do! It also means that you don’t have that ugly bulge from joining your yarn with an actual knot. This also means that your yarn won’t slip and come loose. Bonus!? NO WEAVING IN ENDS, YAY!

To do this, you need a large, blunt needle for yarn (whatever you use for weaving in those pesky ends), yarn, and a pair of scissors.

How to do a Russian Join:

  1. Thread your  yarn needle with your current color.IMG_0927
  2. Weave your needle through the yarn. Pull the needle and tail through the yarn and remove the needle. Make sure that there is a loop at the top.IMG_0945
  3. Thread the needle with your new yarn. Pass the needle and yarn through the loop in your old yarn.IMG_0935
  4. Weave the needle through the new yarn just as you did with the old yarn. Pull the needle and tail through the yarn and remove the needle.IMG_0937
  5. Pull both yarn tails taut, closing the loops where the ends of the yarn meet.IMG_0939
  6. Cut the tails of the yarn, then continue working!IMG_0941


Decoding Crochet Patterns: Let’s Read A Pattern!

At some point or another, we’ve all come across a pattern for the first time and been like…. “What in the world am I supposed to do with that?!” Well, don’t get discouraged. Though a pattern may look intimidating for the first time, they are not all that difficult to decode.

Patterns are written in a form of shorthand, using abbreviations for various stitches. It would be a good idea to become familiar with abbreviations used for crocheting. Click the link to view my list of abbreviations! Please keep in mind that US patterns and UK patterns have different forms of shorthand. I will be using the US version. What “language” the pattern is written in is important to pay attention to! A double crochet in the US is called a treble crochet in the UK – so this may cause some confusion if you’re familiar with US terms and follow a UK pattern.

Personally, I believe that understanding the abbreviations is the key to reading a pattern. Once you know what they mean, reading a pattern will be a breeze!

So, let’s pick up those lovely hooks, get your yarn ready, and I’ll “translate” a pattern for you!

** Please be aware, I’ve translated the pattern how I read it to myself while crocheting. We will be making a pretty simple square — It’s the first thing I was taught to crochet, so I figure it would be a great way to get beginners started on their pattern reading!

Continue reading