
Welcome to my “Decoding Crochet Patterns” series! I’ve been thinking a lot about how overwhelmed I felt when I first tried to read patterns and wanted to take the frustration out of crochet patterns for beginners. So, tag along with me on this wonderful little journey on how to read (or as I call it, Decode) crochet patterns.
The easiest part of crochet patterns is the supply or material list (at least in my opinion). You will almost always see a line indicating the gauge for your project. When you do, you might lean back, squint, then scratch your head and think, “What the $&@! is a stitch gauge?!”
Well, have no fear!
A stitch gauge is a square which will help you achieve the correct amount of tension to ensure that your project is the correct size when completed. Below is an example of what you may see in a pattern:
“Gauge: 13 dc and 7 rows = 4 in“
Basically, what this means is that there should be 13 double stitches per row and 7 rows in your swatch. Both of which should measure 4 inches to create your 4″ x 4″ square. It is important to not only pay attention to the gauge but the hook size as well. Let’s say our hypothetical pattern called for a 5mm hook, then we would attempt to create our square with that recommended hook size. If you notice that you have too few stitches, then you would go up a hook size (and continue going up) until you reach the correct amount of stitches per inch and vice versa, if you notice that you have too many stitches per inch, you would go down a hook size (or two or three). **Please keep in mind that not all stitch gauges for patterns will be for a 4″ square. I have seen some that are different sized squares.**
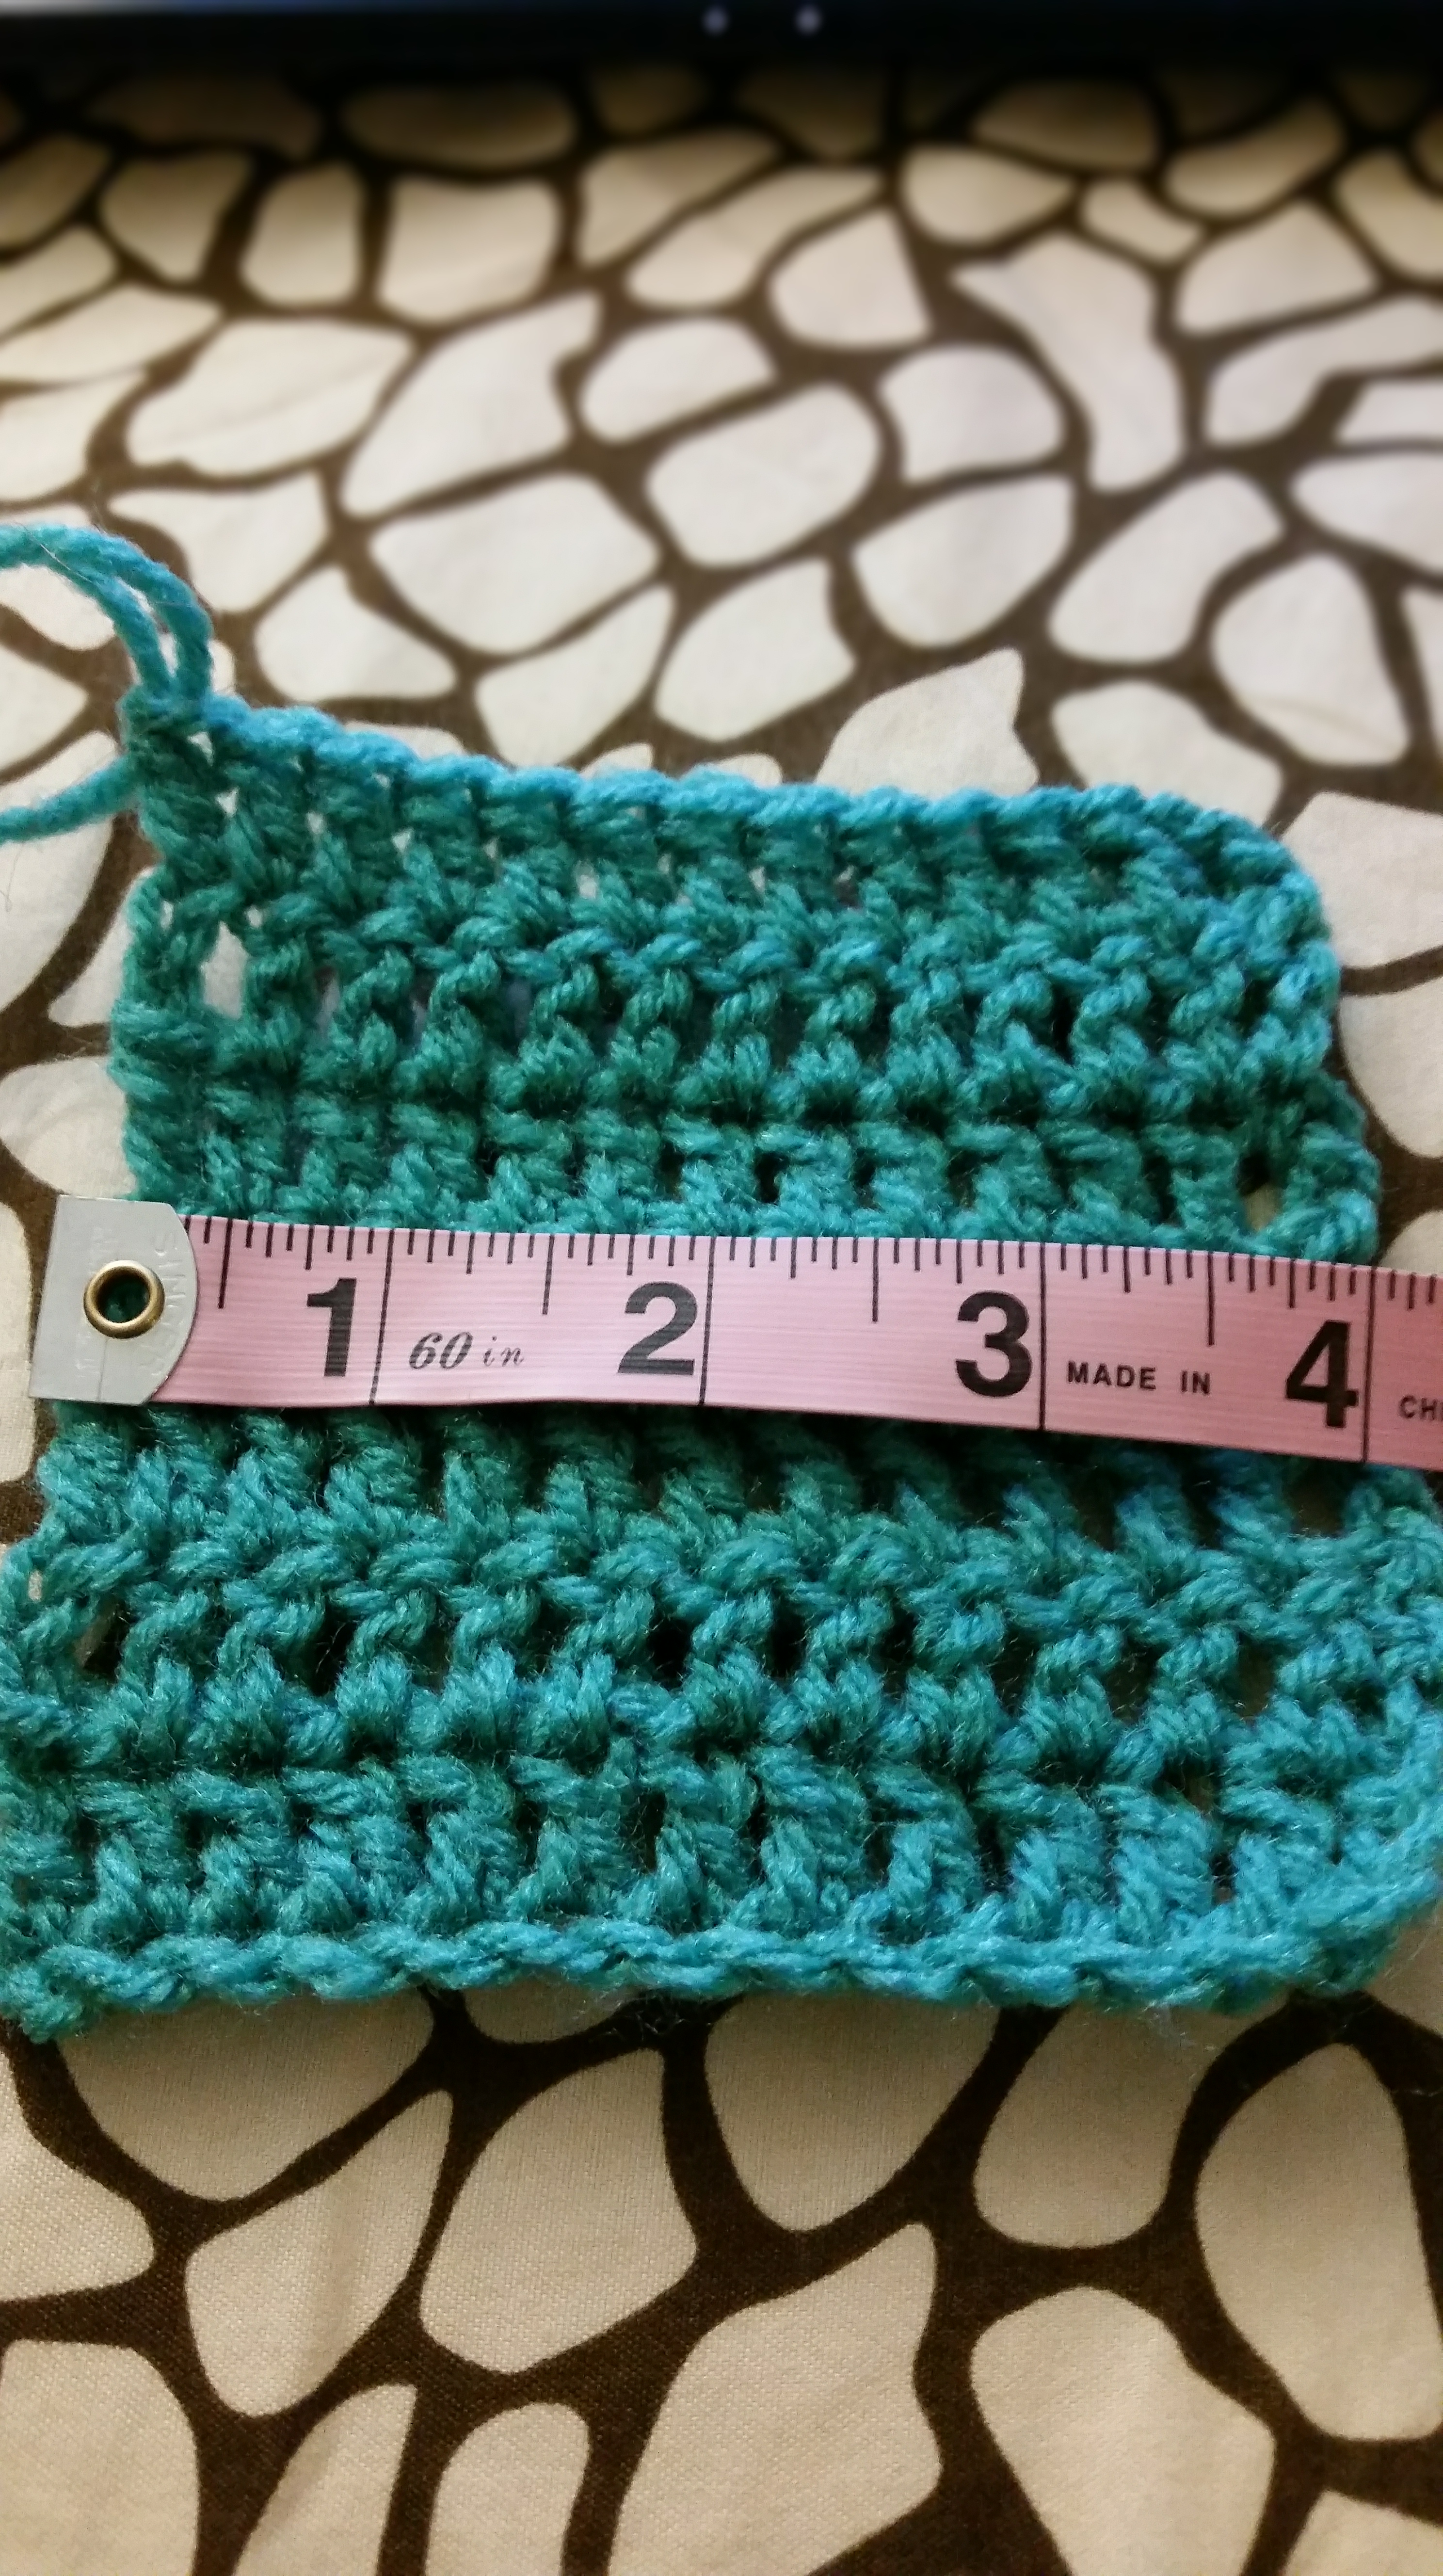
13 double stitches per row = 4 inches.
So, at this point, it looks like we have the correct amount of stitches per inch, but not the correct height. What do we do then? My suggestion is to make your loops a tad bit looser so that they are taller. What I really like about creating the square for gauges is that you can see how to work the tension for your project. Consider it “practice!”

7 rows = 4 inches
Now… For the big question: “Do I really have to do this?” No, of course not. But you should! Why? Everyone crochets differently. Some of us crochet tightly, some more loosely than others. Because we all crochet differently, simply following the instructions, unfortunately, is not enough to make your finished project the right size. Although patterns give you a hook size to use, consider it simply a recommendation. You adjust hook size as necessary to achieve the correct gauge and therefore the correct size for your project. (I find I have to go up a size because I crochet very tightly). In the end, it is up to you to make sure you do everything that you can to ensure your patterns ends up the right size. If you choose to ignore the gauge on a pattern, then it is your fault that your project is too small or short and perhaps not the designer’s.
Hopefully this helps clear up the mystery of stitch gauges in crochet!
